

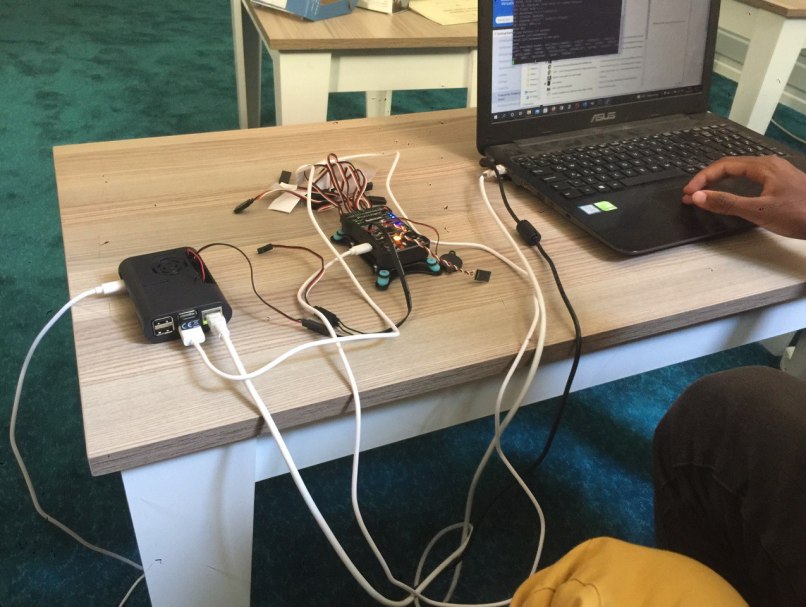
Here is a solution how to connect Raspberry pi and pixhwak over USB (without using the DF13 cable).
It means we will use a USB cable to fix this problem. I have been trying to fix it took me almost 3 days to find the solution.
The problem was the source of power in my case Raspberry pi and pixhwak were using a different source of power.
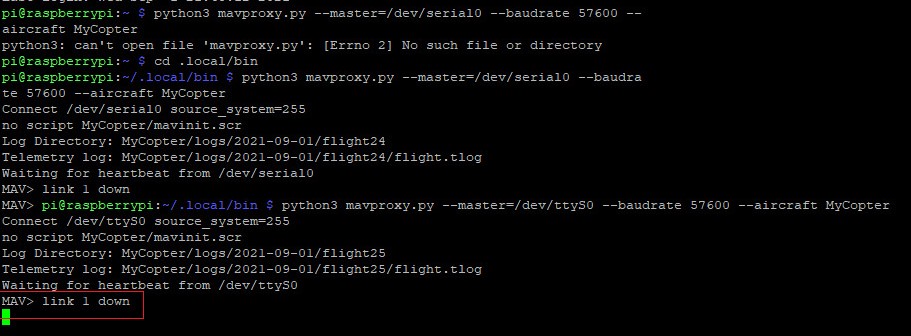
I connected the raspberry to the switchboard and the pixhwak to the laptop, both of them having different sources of power were causing the:
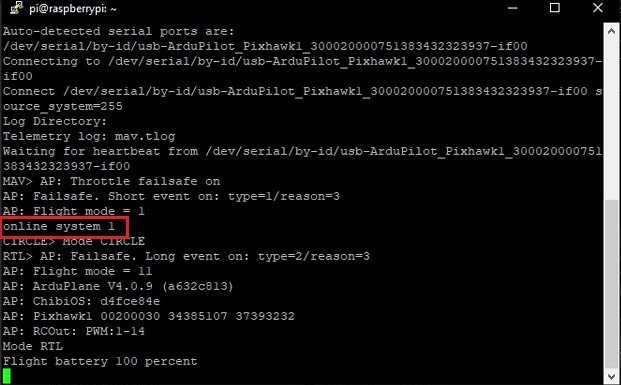
“MavLink MAV> link 1 Down Error,” error
First, we type those commands below:
1.“sudo apt-get update,”
in order to update the firmware.
2.“Sudo apt-get install python3-dev python3-opencv python3-wxgtk4.0 python3-pip python3-matplotlib python3-lxml python3-pygame
3.“sudo pip install pymavlink”
For the mavlink
4.“sudo pip install mavproxy”
and this one for the mavproxy.
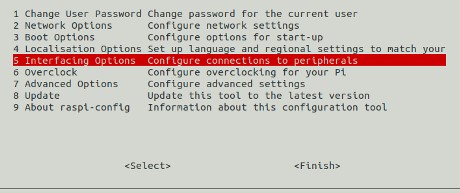
5.next run “sudo raspi-config “as a route user
And in the utility, select “Interfacing Options”:
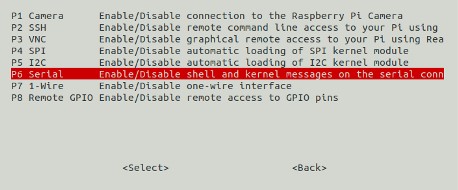
next click “Serial”:
Now, select NO to “Would you like a login shell to be accessible over serial?”.
after, select YES to “Would you like the serial port hardware to be enabled?”.
Finally, after you completed all the steps reboot the Raspberry Pi when you finished.
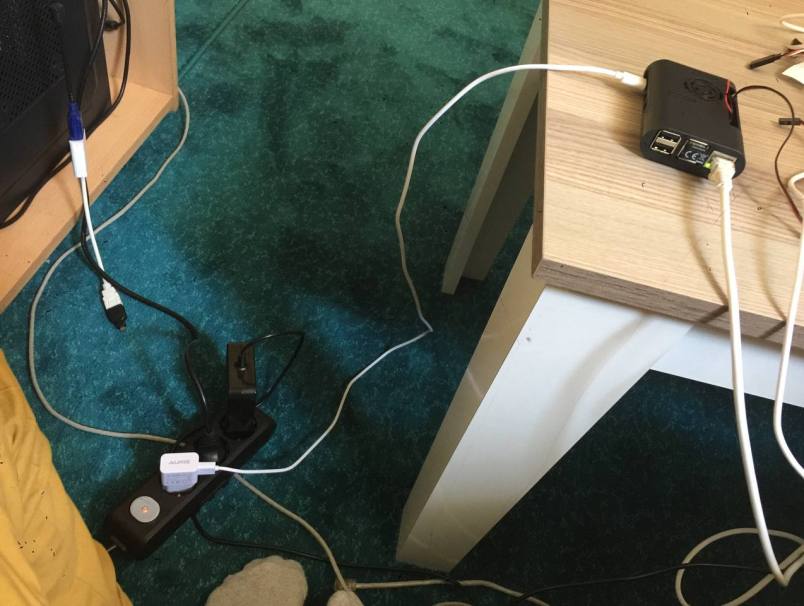
Second, we change the source of power we connect the two computer systems to one source of power.
1. Start by connecting the raspberry to a source of power that is not your laptop
2. use a USB cable to connect the pixhwak to the raspberry, now the pixhwak is using the raspberry as a source of power
3. Connect an ethernet cable to the raspberry and your laptop
Run the code again
You should see: “online system 1”
| Cookie | Duration | Description |
|---|---|---|
| cookielawinfo-checkbox-analytics | 11 months | This cookie is set by GDPR Cookie Consent plugin. The cookie is used to store the user consent for the cookies in the category "Analytics". |
| cookielawinfo-checkbox-functional | 11 months | The cookie is set by GDPR cookie consent to record the user consent for the cookies in the category "Functional". |
| cookielawinfo-checkbox-necessary | 11 months | This cookie is set by GDPR Cookie Consent plugin. The cookies is used to store the user consent for the cookies in the category "Necessary". |
| cookielawinfo-checkbox-others | 11 months | This cookie is set by GDPR Cookie Consent plugin. The cookie is used to store the user consent for the cookies in the category "Other. |
| cookielawinfo-checkbox-performance | 11 months | This cookie is set by GDPR Cookie Consent plugin. The cookie is used to store the user consent for the cookies in the category "Performance". |
| viewed_cookie_policy | 11 months | The cookie is set by the GDPR Cookie Consent plugin and is used to store whether or not user has consented to the use of cookies. It does not store any personal data. |